 Hi! Making a covered button bracelet is super easy! You can finish making a beautiful bracelet in 15 minutes! It's a great project to do it with kids and teenagers too! I made this blue bracelet with bumble bees & flowers for my daughter. She loves it!!
You'll need these materials: buttons to cover (I use size 24 [5/8" or 1.6cm] here),
a coordinating cover button tool, a bracelet, fabric,
a small piece of felt (it's not in this picture), a E6000 glue, a stick or a toothpick.
Cut a piece of fabric with the pattern you like in the center.
It should be big enough to cover a button.
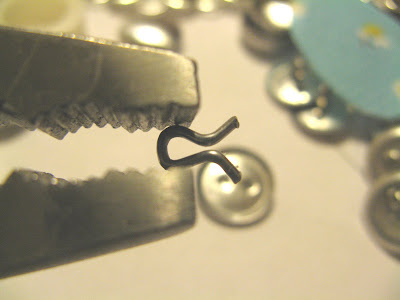
Because my cover button is a wire eye back (loop/shank),
so I need a pair of pliers to remove the loop out. It's super easy!
Put the piece of fabric on top of the mold (white one), then put the shell of the button on top. Push down and tuck the fabric in the center. Place the back of the button on top of it.
(click here to see step by step tutorial of making a covered button).
Push the pusher (blue one) down.
 Da Da! It's done!
A covered button is made
 Step 8:
Cut a piece of felt as big as the back of the button.
It helps to increase the thickness of the button back which is easier to attach to the bracelet.
 Step 8:
 Apply the E6000 glue onto the bracelet disks and glue the covered buttons on.
It takes about 5 minutes to dry.
 Da Da! It's done!
 NEED THESE SUPPLIES? PLEASE VISIT MY SHOPS AT:
or


